Guide 1 of 7
Set up your team and invite your players
Everything in ClipItCoach belongs to a team. Create yours, send the link to your squad, and you’re ready to add your first game.
Steps
Steps
-
Create your team
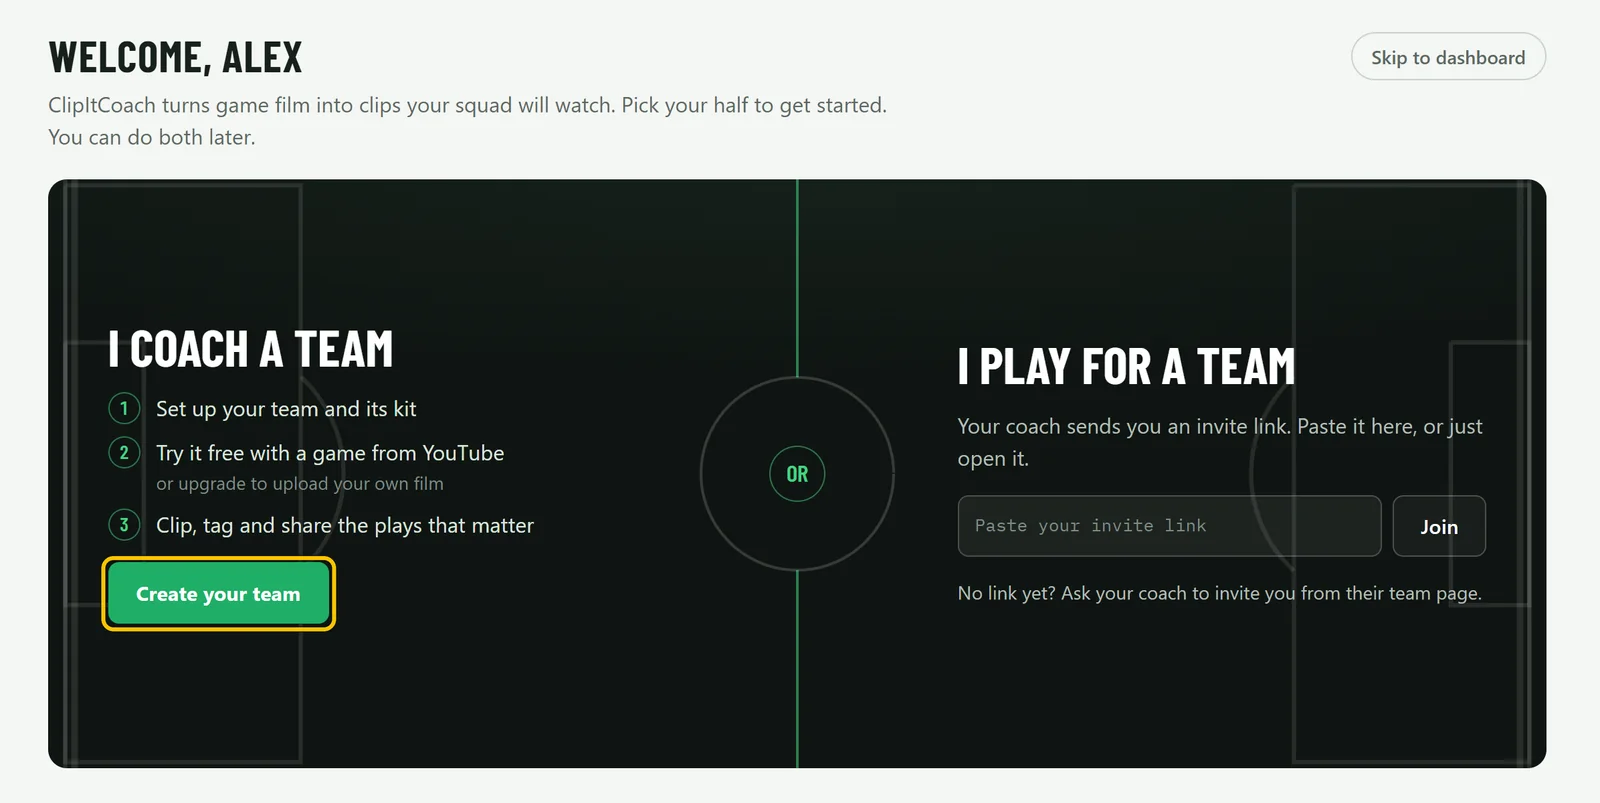
The first time you sign in, choose Create your team under I coach a team. You can also add a team any time from Teams in the menu.
-
Name it and pick your kit
Give the team a name, choose the sport, and set your home kit’s colour, trim and pattern. The kit shows up across the app and on the scoreboard of exported highlights. You can add an away kit now or later.
Then choose Create team.
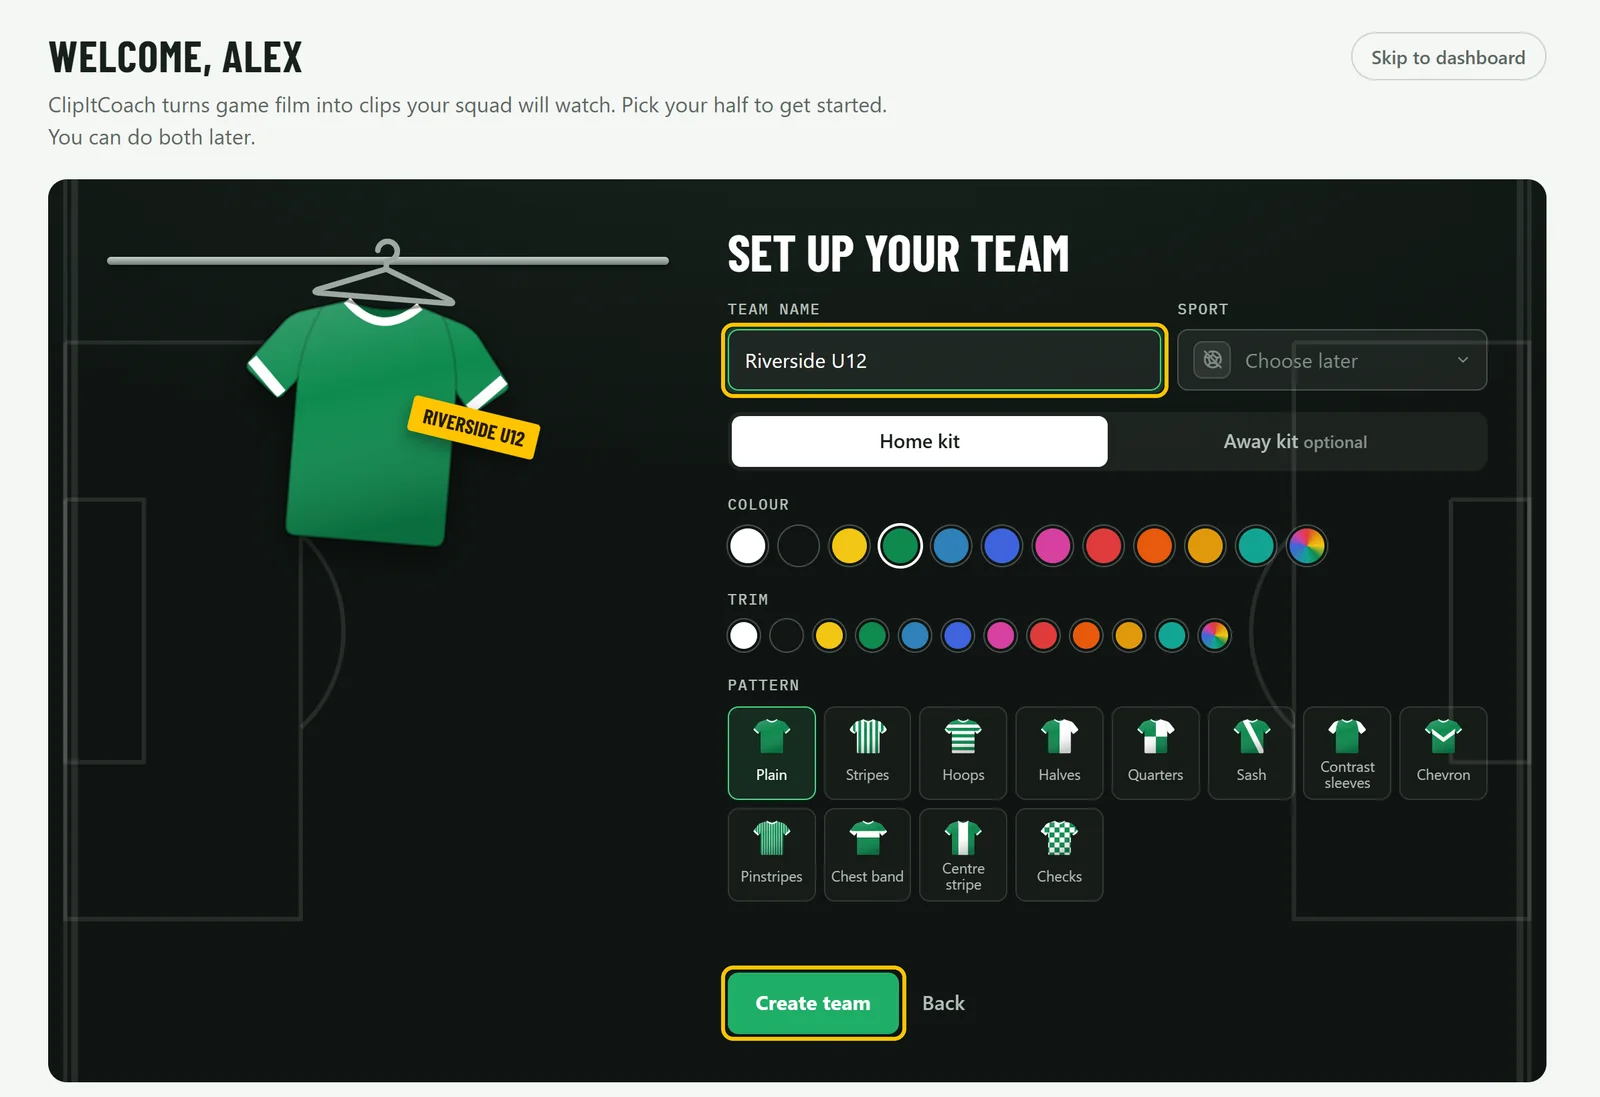
Good to know If you haven’t made any tags yet, choosing the sport gives you a starter set for clipping, like Goal and Corner for football. You can change them whenever you like.
-
Copy your invite link
Open the team page. Your invite link is at the top: choose Copy and send it wherever your team talks, like the group chat or an email to parents.
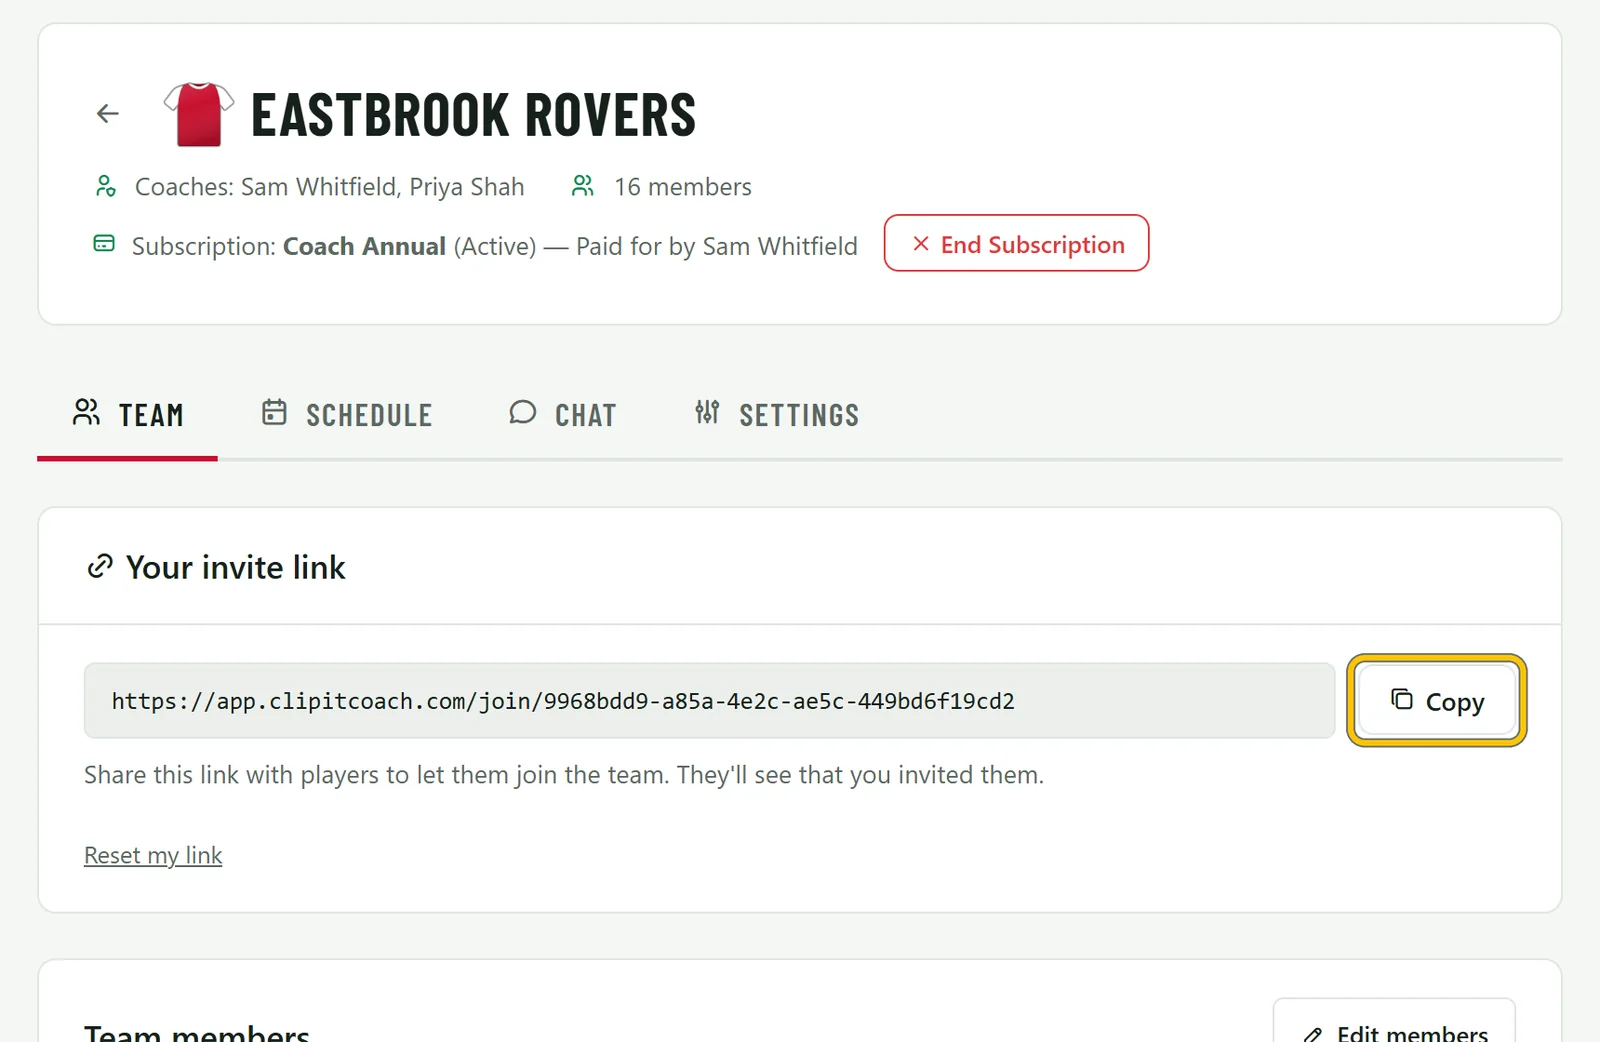
Good to know Each coach has their own link, so you can see who invited who. If a link ends up somewhere it shouldn’t, choose Reset my link and the old one stops working.
-
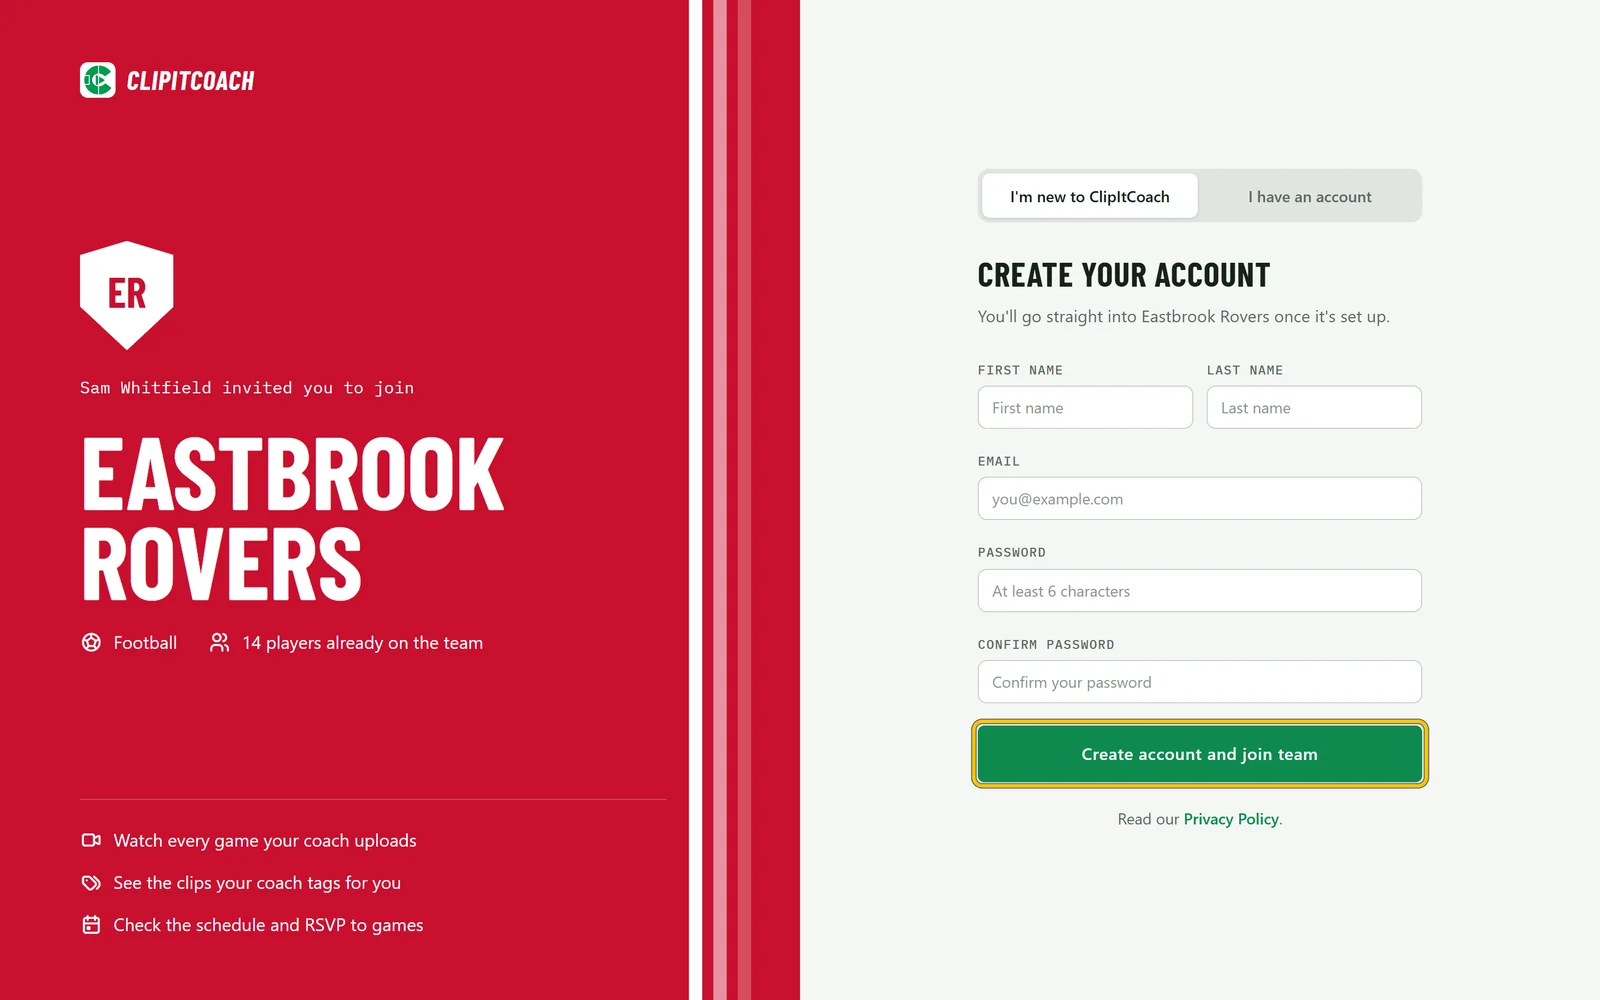
Players join from the link
Players, parents and supporters open the link, create an account (or sign in if they already have one), and land straight in your team. A team can have up to 100 members on any plan, and players never pay.
-
Make your assistants coaches
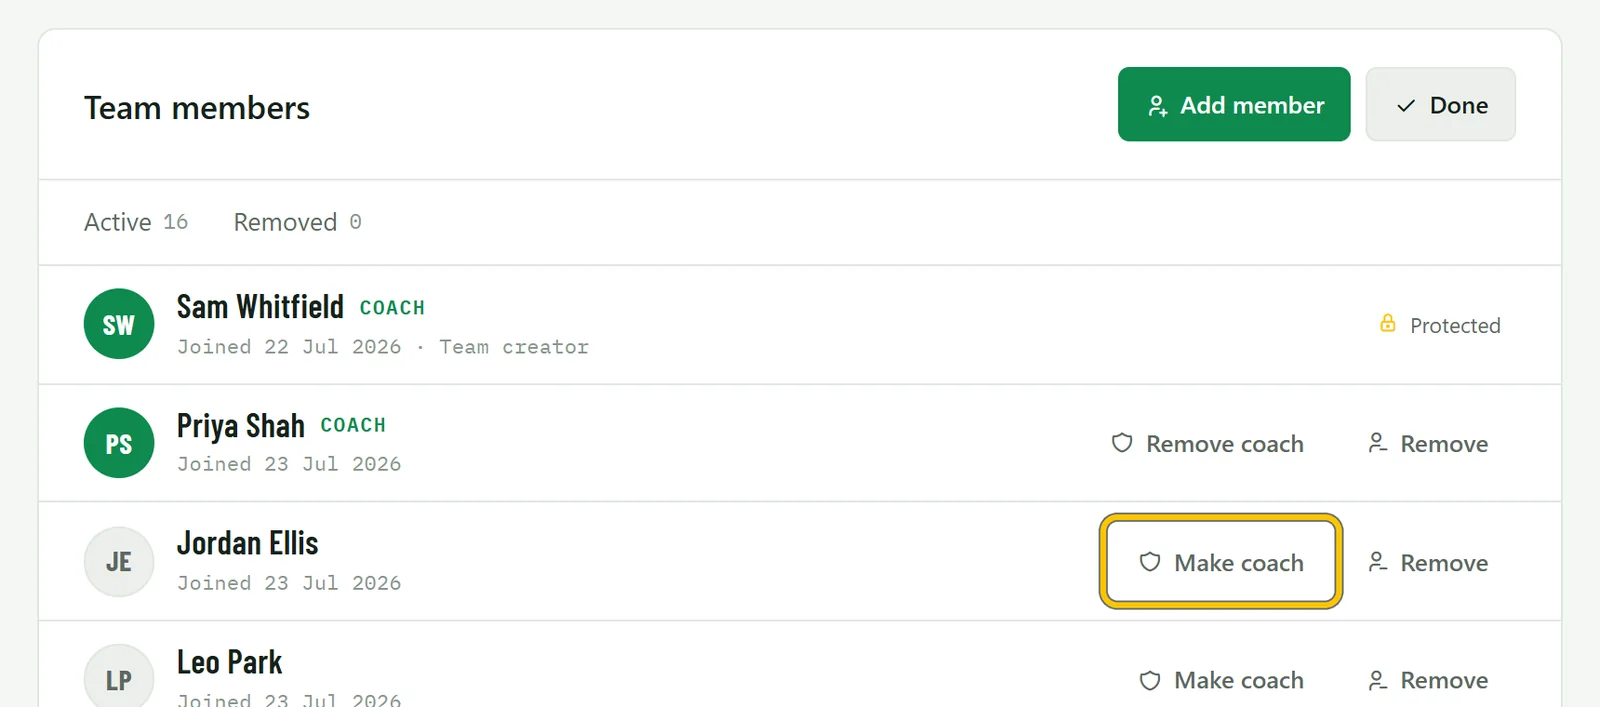
On the team page, choose Edit members. Make coach lets someone change video settings, manage the squad and schedule, and see every clip on the team’s videos. You can remove members here too.
-
Put players into groups
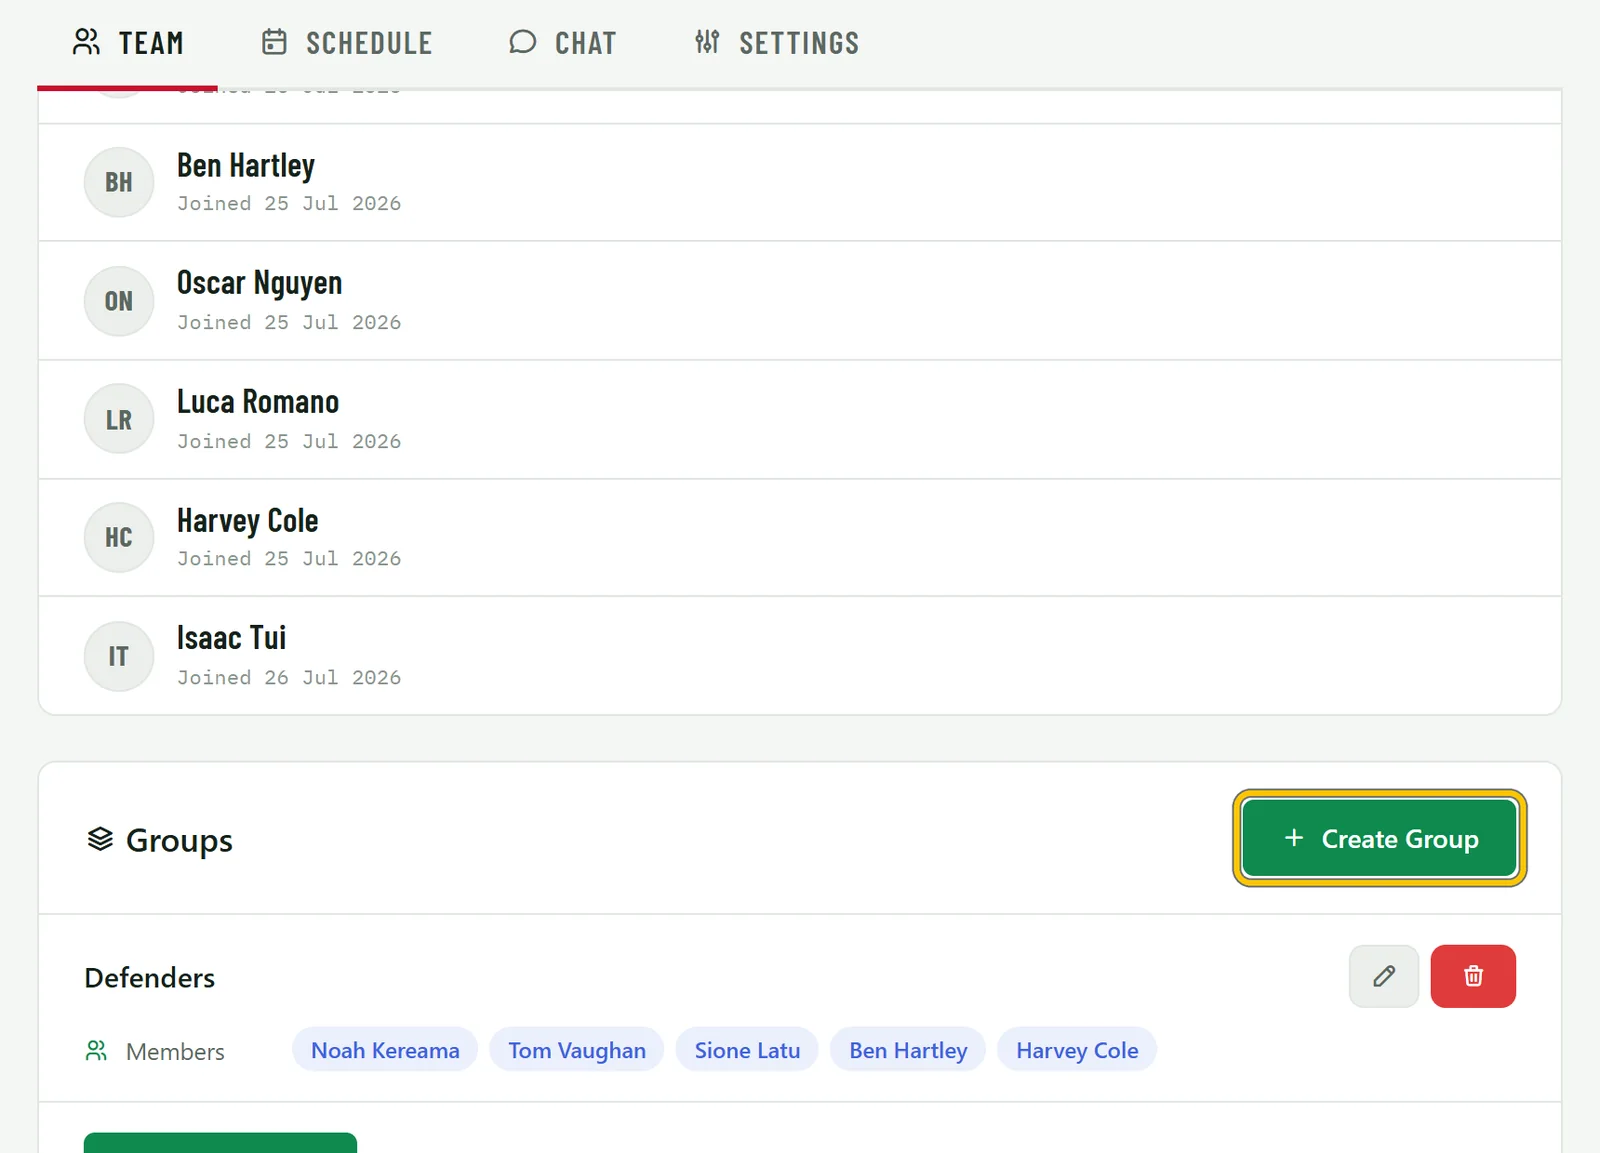
Groups let you send clips to part of the squad, like your back line or your keepers. Under Groups on the team page, choose Create Group, name it and pick who’s in it.